At the heart of all your marketing efforts lie your contact (lead) database.
What good is it to be able to have an awesome product but you don’t have any potential leads or customer to sell it to right?
At Inbound Rocket, we understand that. That’s why the core functionality of Inbound Rocket is located around those contacts. Any person visiting your website and submitting a form on your site will be recorded inside Inbound Rocket and available to you via your contacts dashboard.
After setting up Inbound Rocket on your website, this is the place where you will be spending most of your time. You will be able to see where you contacts have been on your website, which content they are sharing and it will help you to understand better your marketing efforts. It will help you to focus your marketing efforts based on the information you will find here.
Navigate to Inbound Rocket Contacts
First things first, if you’re not logged into your WordPress Admin panel yet, it’s time to do so. Login and use the side menu navigation to go to your Contacts.
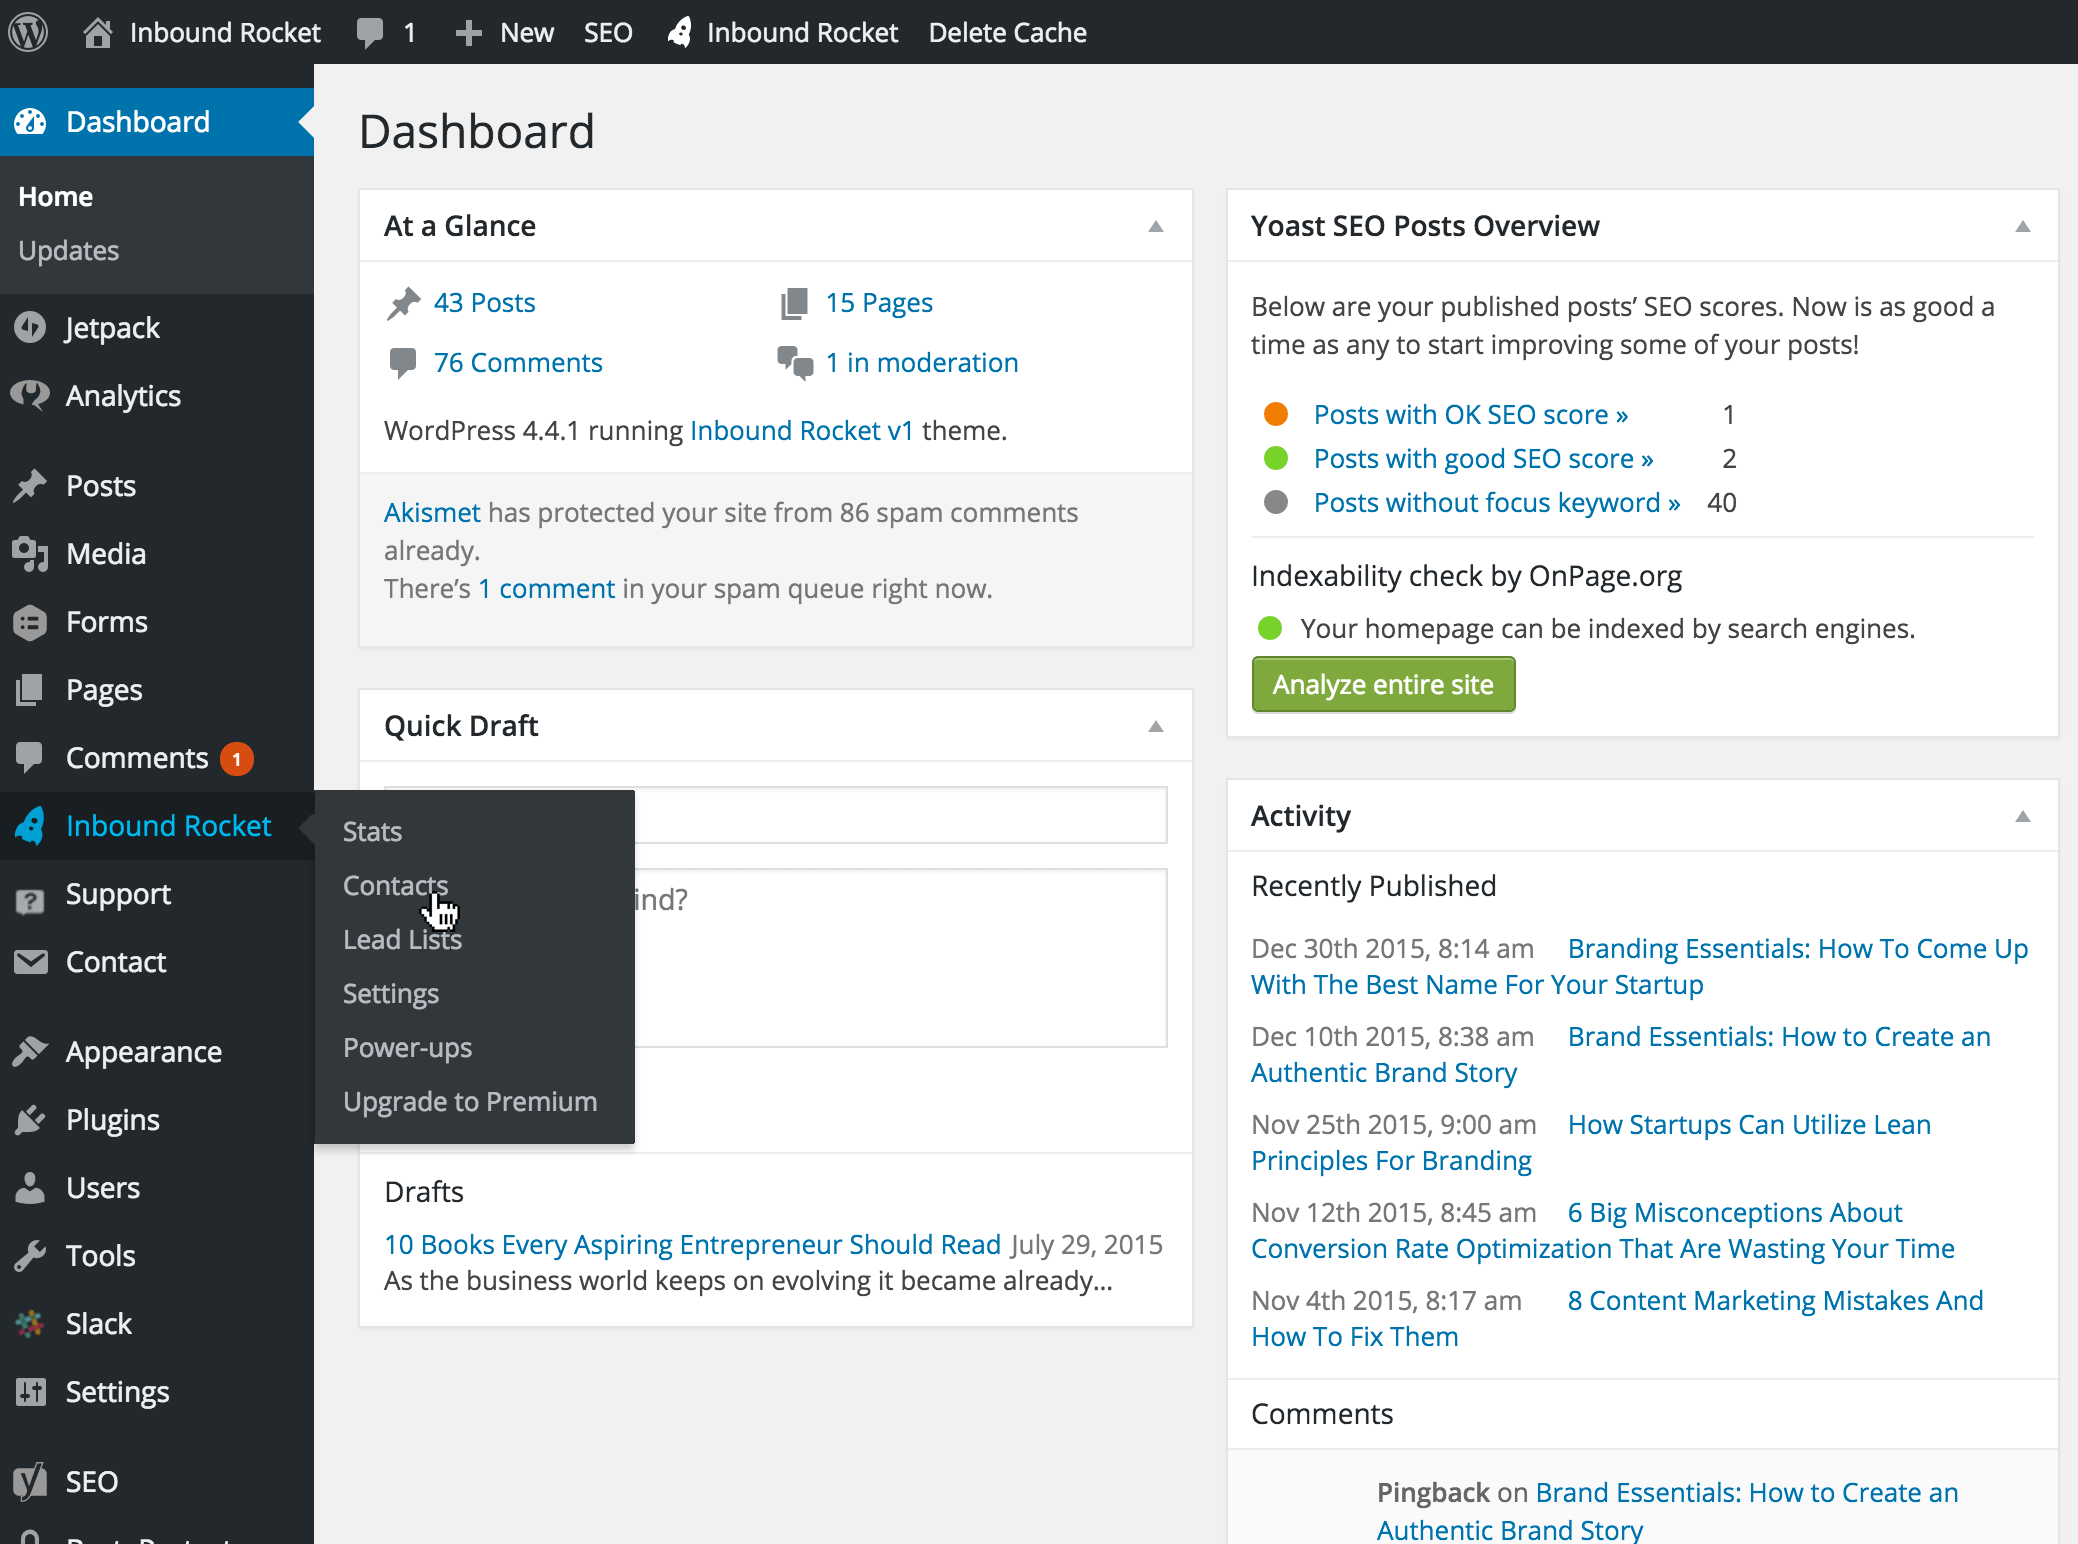
Navigate over to your side menu and hover over Inbound Rocket, then click on Contacts.
Contacts dashboard
Now that we’ve arrived at your Contacts Dashboard let’s first give a quick general overview of the information we’re looking at here. After that, we dive a bit more into details of the actions you can take on this page.
- Total Contacts: all the way at the top there is a quick overview of the number of leads your website was able to generate since activating Inbound Rocket.
- Filter Contacts: a dropdown menu giving you the option to filter your contact based on certain criteria, like who viewed a certain page on your site, etc.
- Lead Lists: if you want to filter your leads based on the list that they are in, you can quickly press on of the buttons here
- Bulk actions: want to remove quickly a lot of people from a lead list, or delete them from the database this is the place to do that
- Contacts: The most important place of this screen, it will show you the name, email address, and some basic information like the original source via which they arrived at your site, the amount of visits, shares, page views, etc.
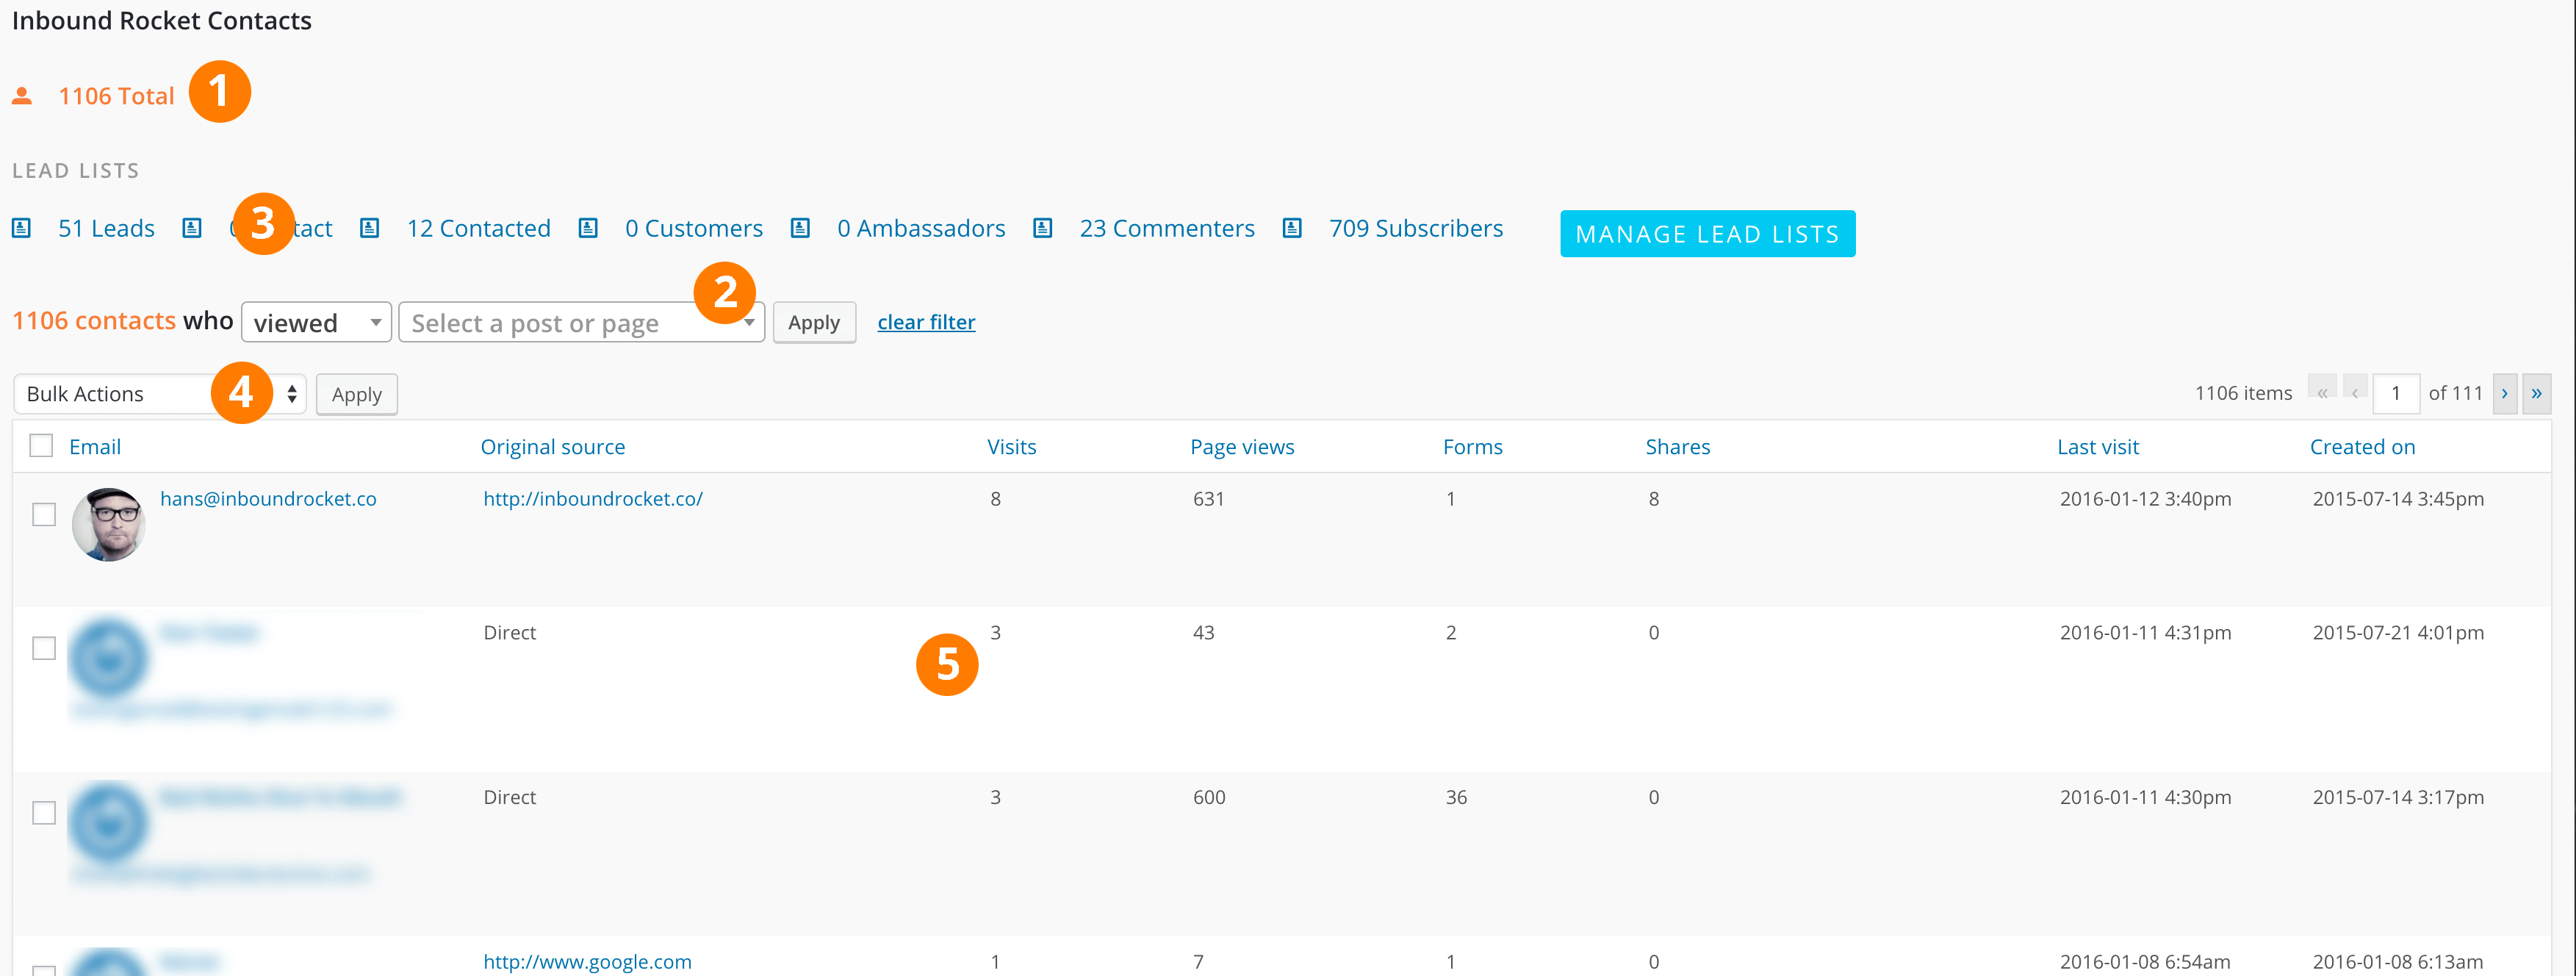
The overview of all the contacts in your database.
Filtering contacts
After some time, your contacts database might be filling up quite heavenly and you need a quick way to see all the people who viewed a certain page, or submitted a certain form. The “filter option” (#2 in the screenshot above) within your Inbound Rocket contacts overview is then a quick way to segment your data based on a certain criterium. For example, you when you select “viewed” in the first dropdown and a certain page from the second dropdown, you get an overview of all the people who viewed that particular page. Make sure to press “Apply” after you’ve chosen your criteria to apply the filter.
If at any time you want to revert the filter back to the normal overview, simply press “clear filter” to set the view to the default view.
Once you’ve got your contacts filtered down the way you want them to, it’s time to make organise those contacts in a certain Lead List to help you better understand at which stage of the Buyer Journey these contacts are, and have them ready at hand for future reference or for someone else in your team to take action upon. You can do this with the Bulk Actions (#3 in the screenshot above). If you press the select box next to the word email, below the “Bulk Actions”, you can select all of the filtered contacts.
If you press the select box next to the word email, below the “Bulk Actions”, you can select all of the filtered contacts. You can now quickly add them to certain Lead List, remove them from a certain Lead List, or just delete them from your database altogether if you want. You can see all the option from the drop-down menu when pressing “Bulk Actions.”
Once you’ve added your contacts to a certain Lead List, you can go quickly go back to them from the left-hand menu, by going to “Lead Lists” the next time you’re coming back to your Inbound Rocket installation.
Filtering your leads will help you to understand better where your best marketing efforts are working out (or not). This way you’ll know what working well on your website and what can be improved. On the other hand, it also helps you to identify better the different stages of your leads’ Buyers Journey, by having them all shown up in the correct group in your Lead List.
There are a lot of conclusions that can be drawn from looking at your data in the contacts dashboard. In the end, it’s there to help you understand your leads’ behaviour better so you can improve your website for conversion.
Individual contact record
Of course, if you want to learn a lot about a person, the main overview is not enough for you. By simply clicking on the name or email address of that lead from the main overview, Inbound Rocket gives you the option to dive really deep into the behaviour of your lead.
Inbound Rocket will gather as much information about your leads as possible from the information that he or she leaves behind when visiting your website. As soon as someone fills in a form, we gather the email address and personal information from this form to build up a profile together with the previously collected data. Things like, page view history, what content did he or she share, how often is he or she coming back?
All very relevant information to help you turn those cold emails into warm welcomes!
In the individual overview you can also see the different Lead Lists, where your contact is a part of, and of course, you’re able to edit these from the individual view as well.