Inbound Rocket

How to find CSS Selectors on Forms

Part of the power of Inbound Rocket comes from automatically tagging leads into different lead lists, based on the forms they fill in on your website. To be able to automatically tags your new contacts Inbound Rocket, however, needs to be able to identify which form they filled in. We use a technique called, “CSS Selectors” for this. Although this term might scare away some people, let’s try to explain it so you can start to make use of this extremely helpful feature.

How to find your form selectors the nerdy way

For the first explanation, we’re going to give the example using Google Chrome (our favorite web browser), however, this technique can be done in other web browsers as well.

You can find any form selector, by right clicking on one of the input fields inside the form on your website you want to target in Google Chrome and to go to “Inspect”.

Right click on any input element of your form and choose "inspect".

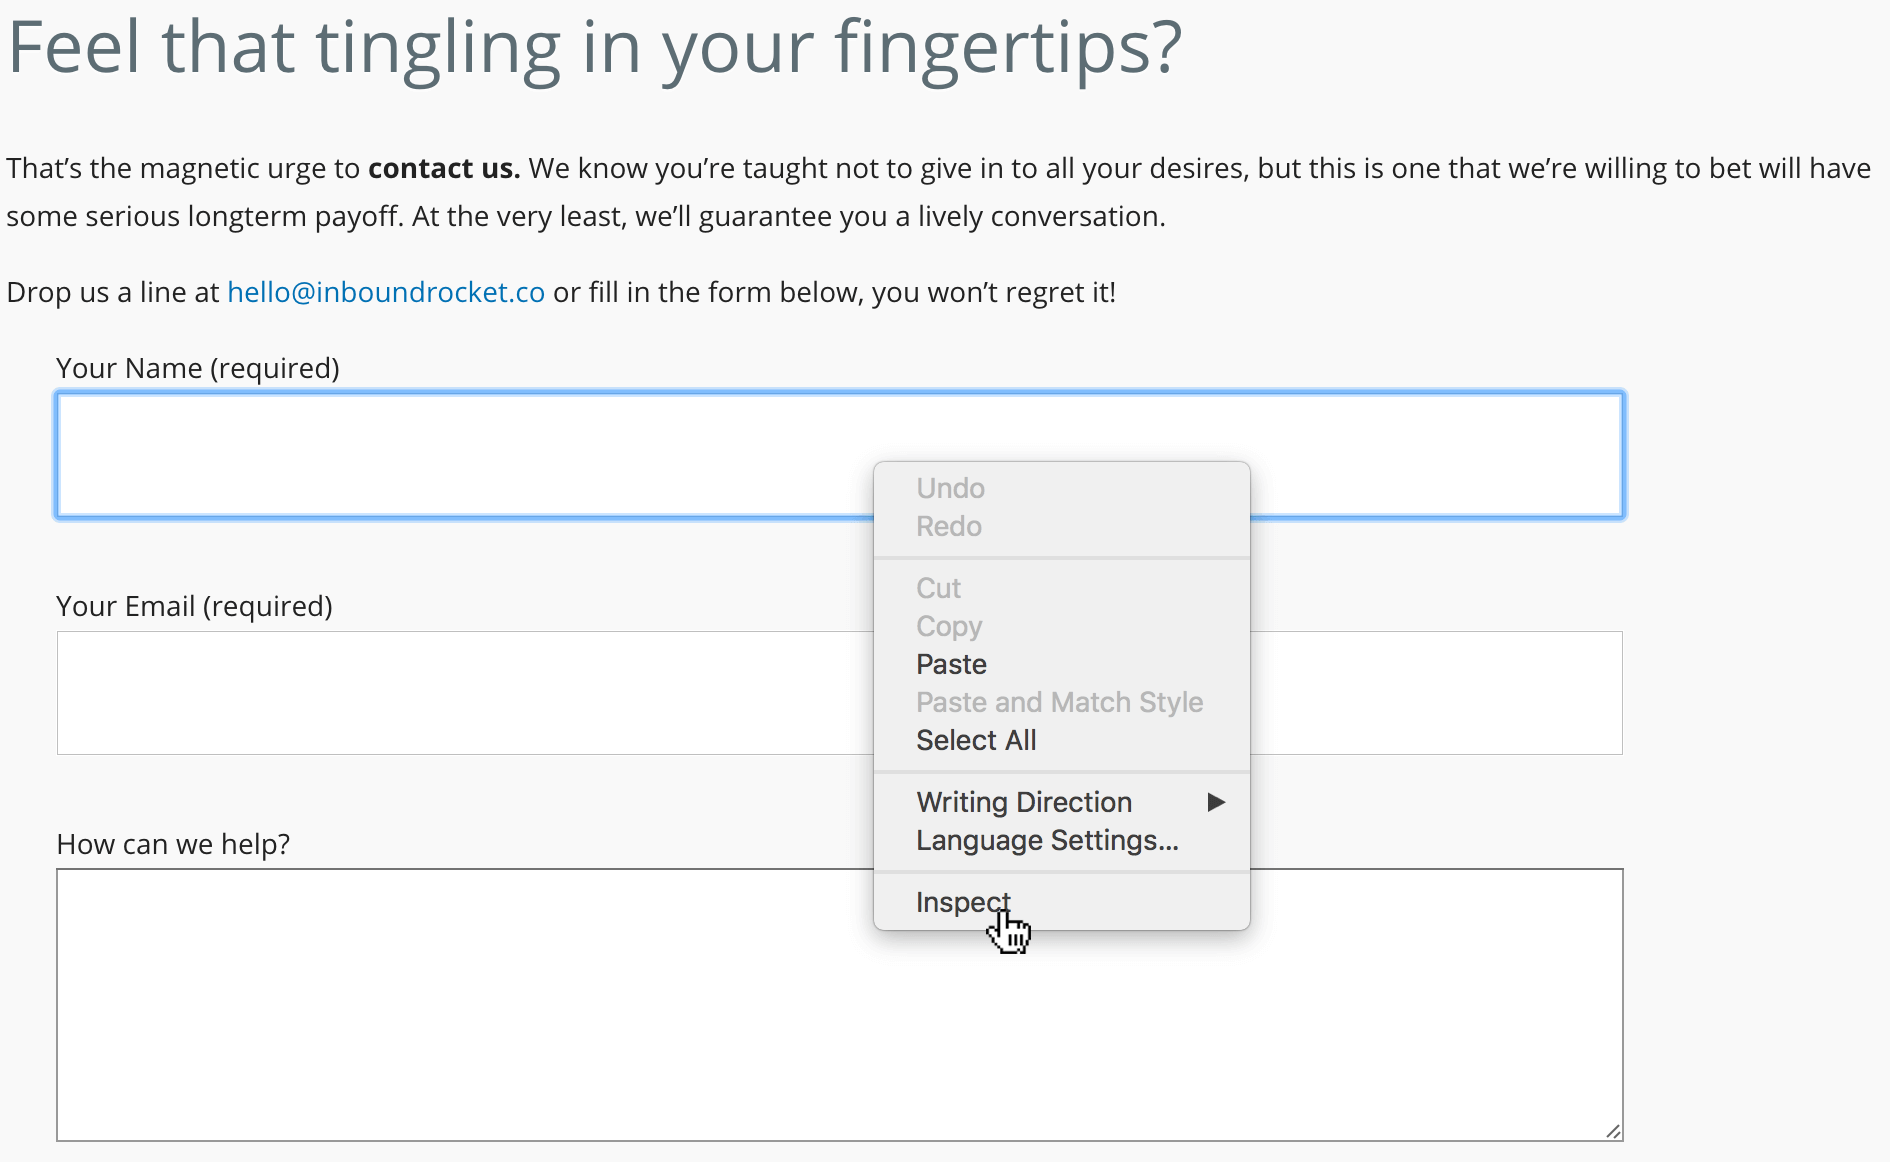
Right click on any input element of your form and choose “inspect”.

This will show you the HTML source for your page and highlight the specific input. Look up the page for a <form> element.

There should be some attributes on the form that either say “id=’my-example-form-id'” or “class=’my-example-form-class'”.

Inbound Rocket - find the CSS Selector

CSS Selectors highlighted in the red box.

HTML ID attributes are identified by a “#” symbol in the Inbound Rocket Lead List editor. So you would look for “#my-example-form-id” in your Inbound Rocket installation with the Lead List which you want your new contacts to automatically show up in.

HTML class attributes are identified by a “.” symbol so that you would look for “.my-example-form-class” in the Inbound Rocket Lead List Editor.

How to find your form selectors the not-so-nerdy way

If this all looks a bit to complicated for you, no worries. There is a very easy to use Google Chrome extension as well. The SelectorGadget Chrome extension can do the trick for you as well without looking into any source code.

Next step, connecting your Lead Lists to MailChimp

Once you know your form selectors, you can learn how to setup a labeled list with MailChimp. This way leads not only get correctly labeled within your WordPress installation, but also send off to the correct MailChimp list of your choosing.

Still need help? Contact Us

More support articles

Pin It on Pinterest

×

Awesome, actionable marketing advice. Delivered weekly.

Join over 2,000 good-looking folks who get our latest content first 🙂


Here’s what you can expect from us.

And don’t worry, we hate spam too! You can unsubscribe at any time.